The experience of tensile testing machine and the difference between static and dynamic
1. The difference between static and dynamic tensile testing machines
1. Structural level. The dynamic structure of the tensile testing machine is slightly more complicated than the static tensile testing machine.
2. Action level. In general, static racks cannot run at higher frequencies, because the racks are difficult to control at higher frequencies, while dynamic racks can perform samples at higher frequencies. In the dynamic test, when using stress control, it is necessary to feedback the data in a timely and accurate manner through the sensor, which cannot be achieved by the static machine.
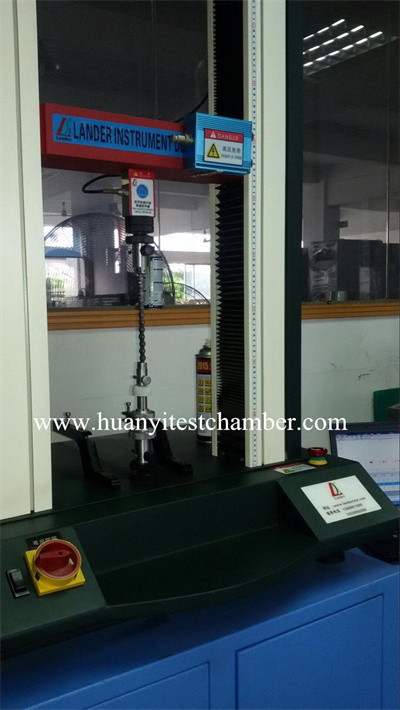
2. Three inspection methods of tensile testing machine
1. Speed check.
⑴First record the initial position of the cross arm of the machine, and select the speed value in the control panel (measure the stroke of the cross arm with a standard ruler).
(2) When the machine is started, the electronic stopwatch starts to count for one z minute. When the stopwatch arrives, press the stop button of the machine. According to the time when the stopwatch is started, record the stroke value of the cross arm, which is the rate per minute (mm/min). The difference between the travel value of the cross arm and the straight steel ruler is calculated, and the error value of the travel distance of the cross arm is within ±1%.
2. Test of force value. After opening the calibration interface, the tensile testing machine enters the computer program, press the start of the test, take a standard weight and hang it lightly on the upper fixture connecting seat, record the force value displayed by the computer, and calculate the difference and error with the standard weight. Not more than ±0.5%.
3. Displacement inspection. First, reset the current displacement. Then open the calibration interface, the interface shows the moving distance, which is actually the error, it should be reset to reset, so that the tensile machine will be accurate in the next test.

